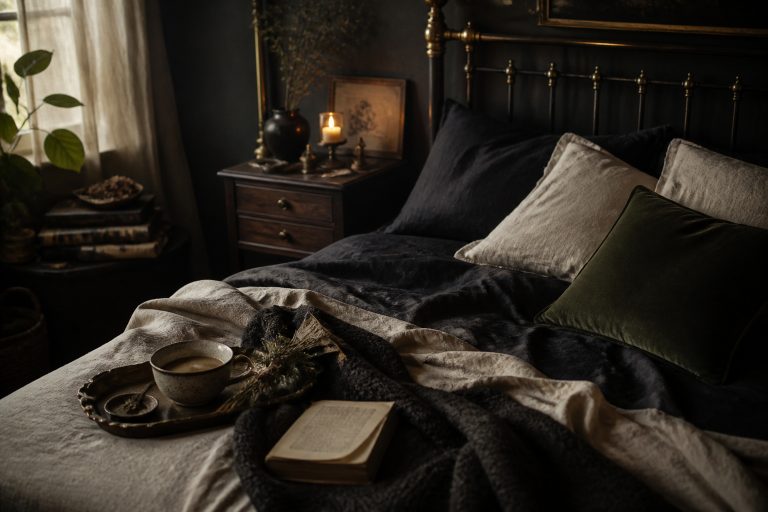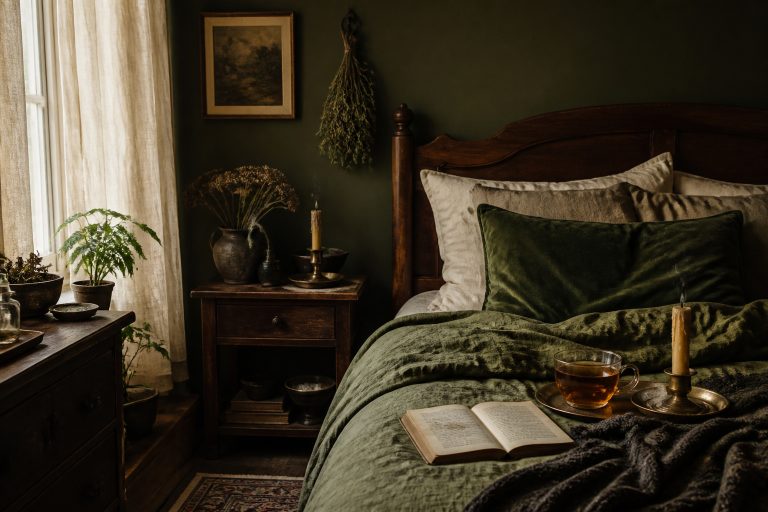
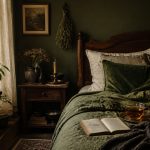
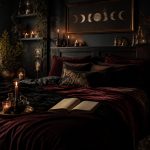


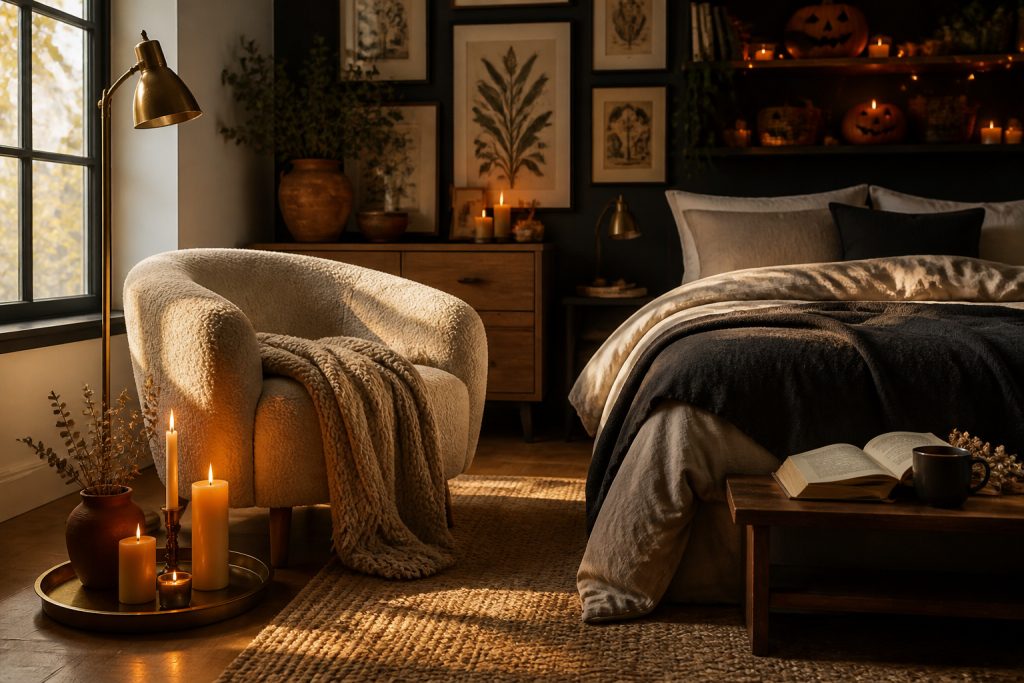

My bedroom went from generic to eerie-cozy after I added 13 small DIYs that actually feel adult, not juvenile. Halloween bedroom decor DIY is the backbone here, and I’m sharing all 13 projects I tried, most under $50, a few around $120. These fixes won’t scare your roommates, they’ll spark compliments, and they work in studios, small bedrooms, and modern farmhouse rooms alike.
I’m leaning warm and layered lighting with mostly under $50 pieces, and two splurges around $120. These ideas suit modern, cottage, and small urban bedrooms. I’ve noticed more people mix vintage props with LED tech, a trend I expect to grow in 2025.
1. Dripping Candle Cluster (Battery Candles)
Style: Moody & Cozy | Budget: Under $40 | Best For: Nightstands
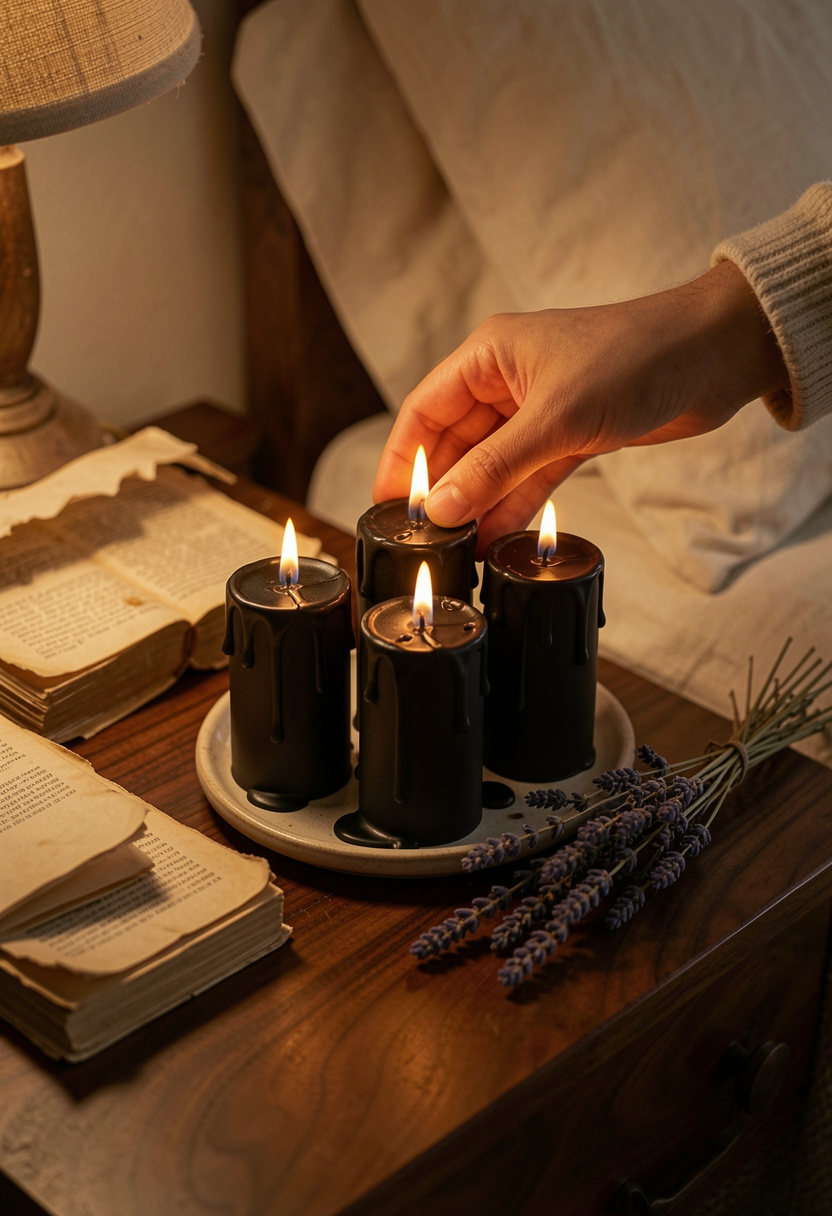

Result: safe candle glow without soot or fire risk. I use Matte black drip LED candles (approx $18 to $35) grouped on a ceramic tray. Use warm amber bulbs and stagger heights for depth. Tip: secure candles with museum putty so they don’t slide when you bump the nightstand. I once used real candles and left wax on my oak; lesson learned.
Shop this idea:
2. Mini Apothecary Jar Vignettes
Style: Vintage-Curated | Budget: Under $25 | Best For: Shelves + Dresser


I mixed thrifted apothecary jars with Black sand filler pack (around $6 to $15) and dried citrus. Practical tip: label lids with chalk for easy swaps. Warning: fake spiders in jars look cheap; stick to natural fillers. My roommate asked if I was collecting potions. That’s the compliment I wanted.
Shop this idea:
3. Haunted Gallery Strip (Warm Wood Frames)
Style: Bright & Airy | Budget: Under $75 | Best For: Focal Wall
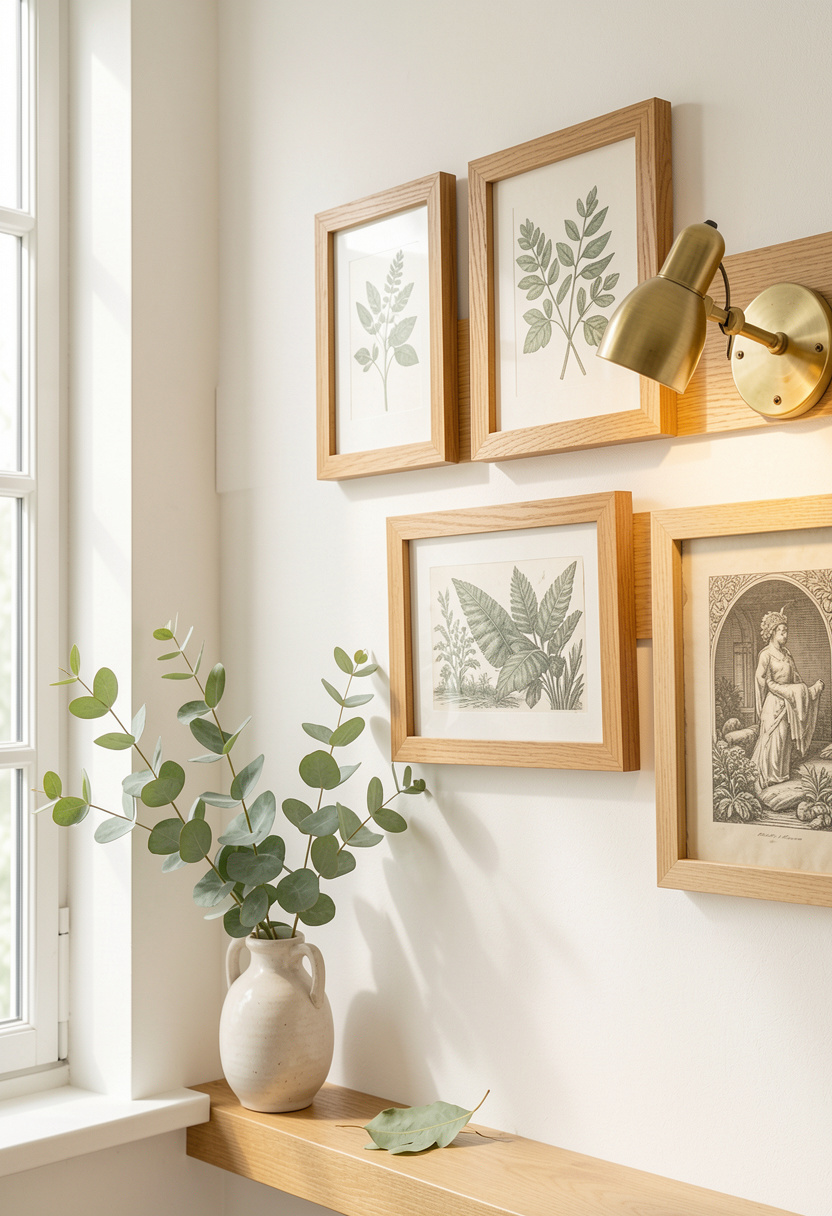

I built a gallery with thrifted frames painted matte black and warm oak. Use Warm oak frame set 8×10 (approx $25 to $60) and swap in botanical prints with tiny Halloween touches like vellum moths. The trick is consistent spacing and one unifying frame finish. Ugly truth: picture wire that’s too long makes frames hang crooked; cut it tight.
Shop this idea:
4. Steam-Painted Mirror Fog
Style: Moody & Cozy | Budget: Under $20 | Best For: Vanity + Mirrors
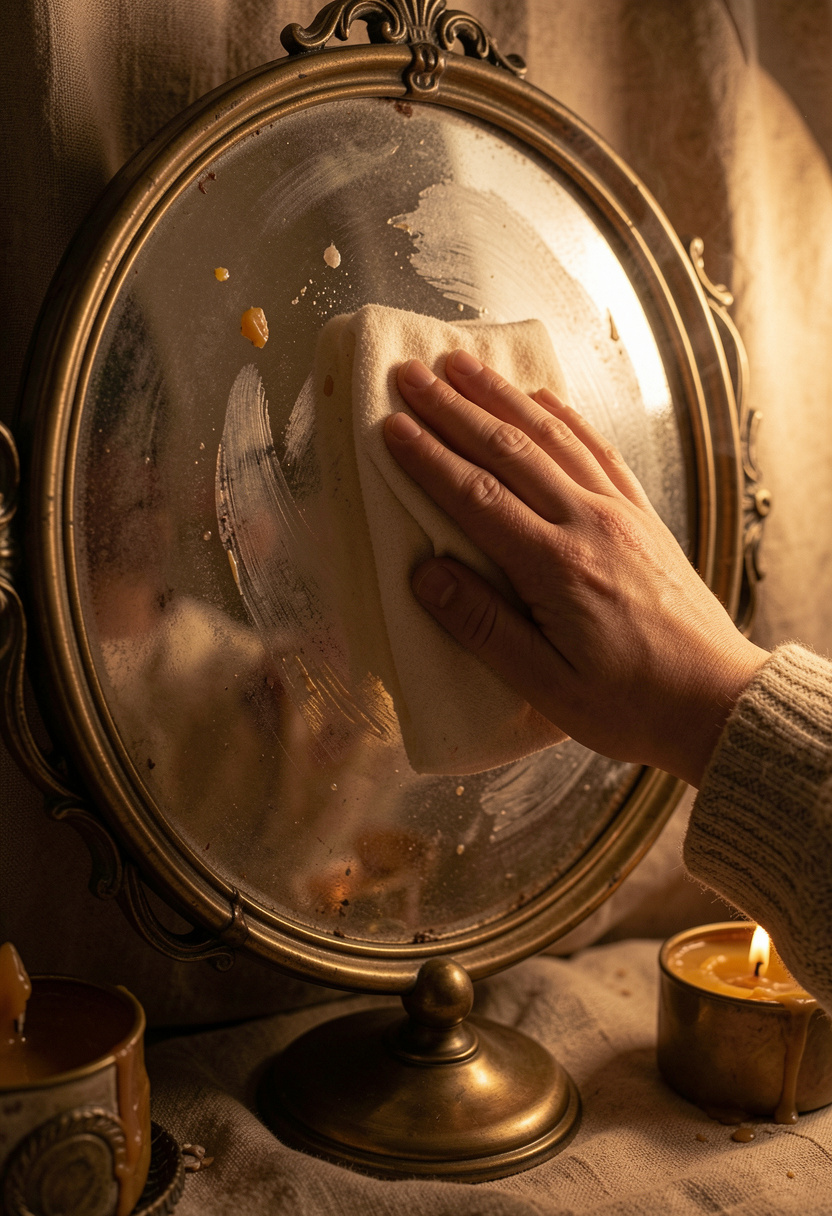

Result: faint smoky halo on your mirror that reads spooky without being contrived. I used a dab of Antique finish wax paste (around $8 to $18) lightly buffed. Tip: test on a small corner first. Ugly truth: heavy-handed paint looks like a kids’ craft; subtlety matters.
Shop this idea:
5. Floating Sheet Shadows (Sheer Curtains + Cutouts)
Style: Bright & Airy | Budget: Under $35 | Best For: Windows + Canopy
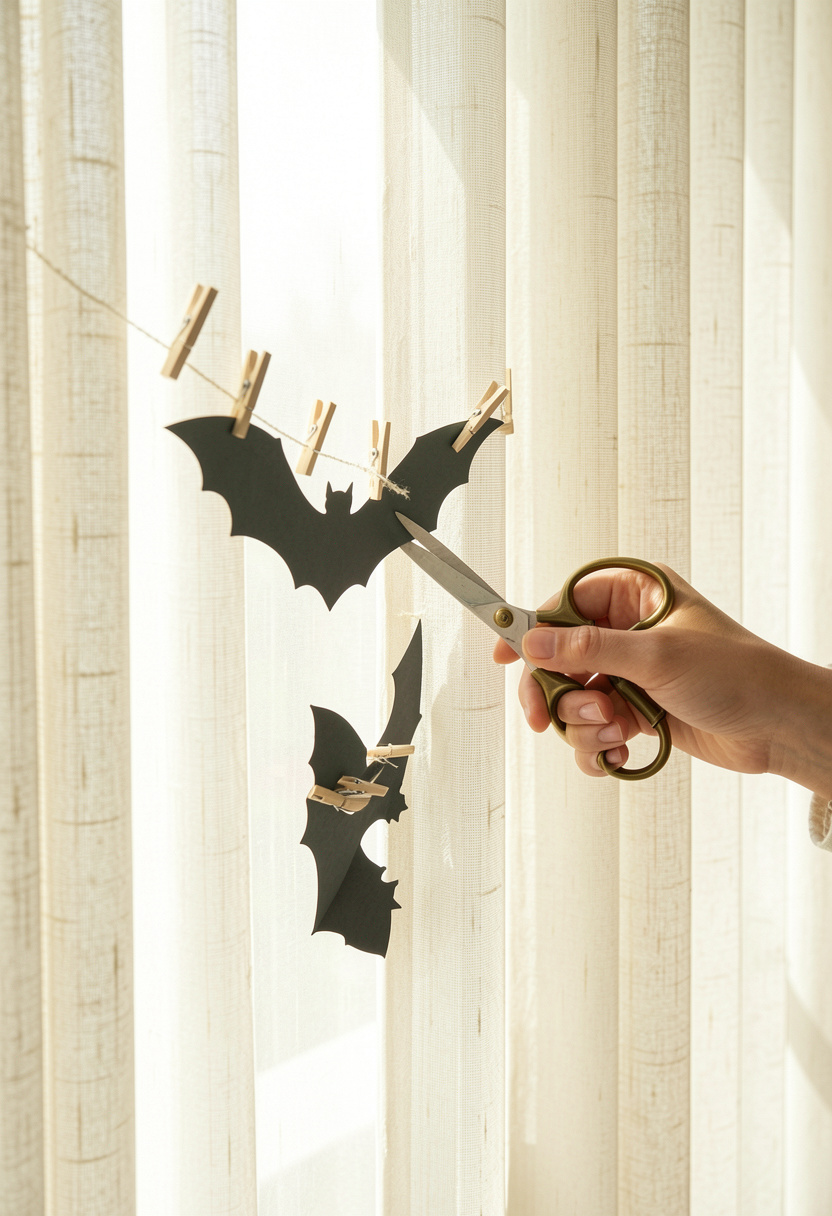

I cut small silhouettes from black cardstock and loosely clip them to Cream linen curtains 84 inch (around $25 to $50). Movement makes shadows feel haunted. Practical tip: use removable clips so you can reposition. Ugly truth: cardboard that’s too thick blocks light and reads amateur; thin cardstock is best.
Shop this idea:
6. Draped Witchy Canopy Corner
Style: Moody & Cozy | Budget: Under $60 | Best For: Bed nook
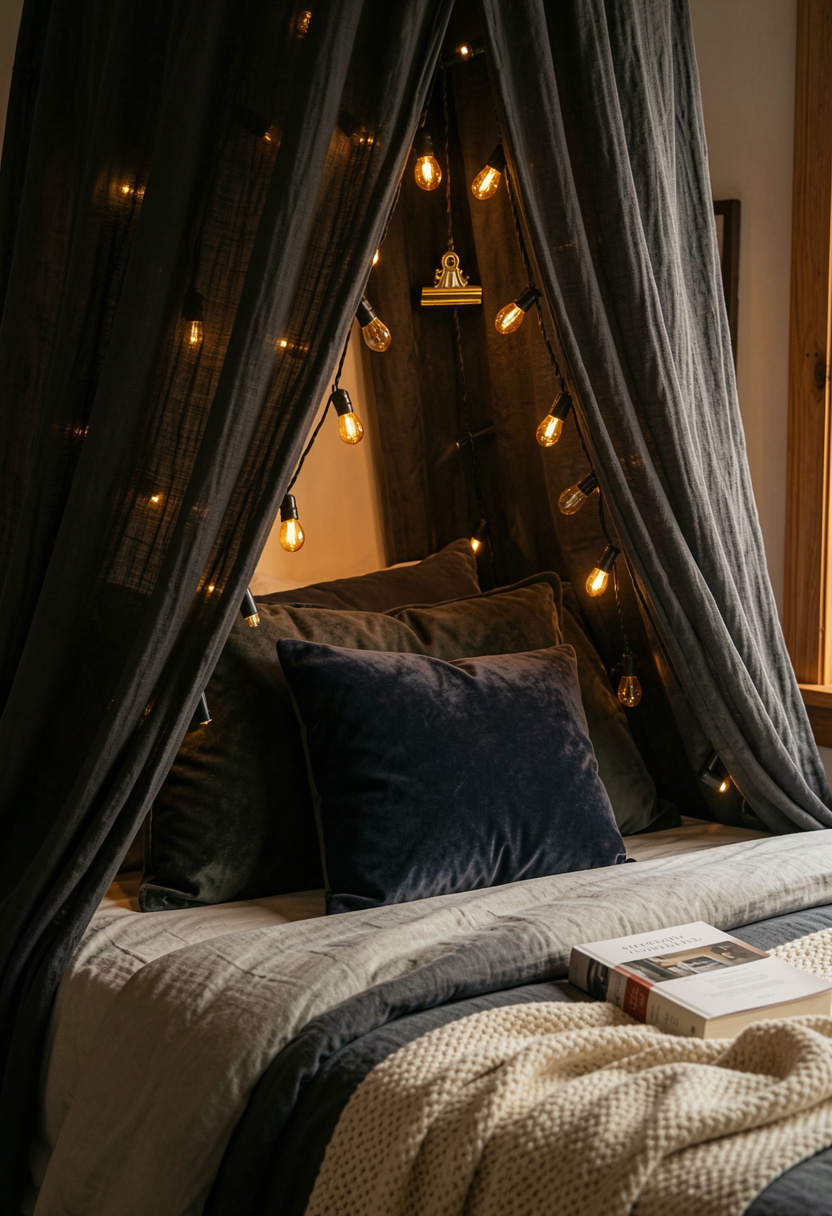

I created a canopy with a hoop and Charcoal voile fabric 2 yards (approx $12 to $28) and warm battery string lights. Tip: anchor to a single ceiling hook and keep fabric off the floor. One friend said it felt like a sleepover in a chic castle. It’s easier than it looks.
Shop this idea:
7. Moth Shadow Mobile (Layered Paper + Wire)
Style: Bold & Saturated | Budget: Under $30 | Best For: Ceiling + Above Bed
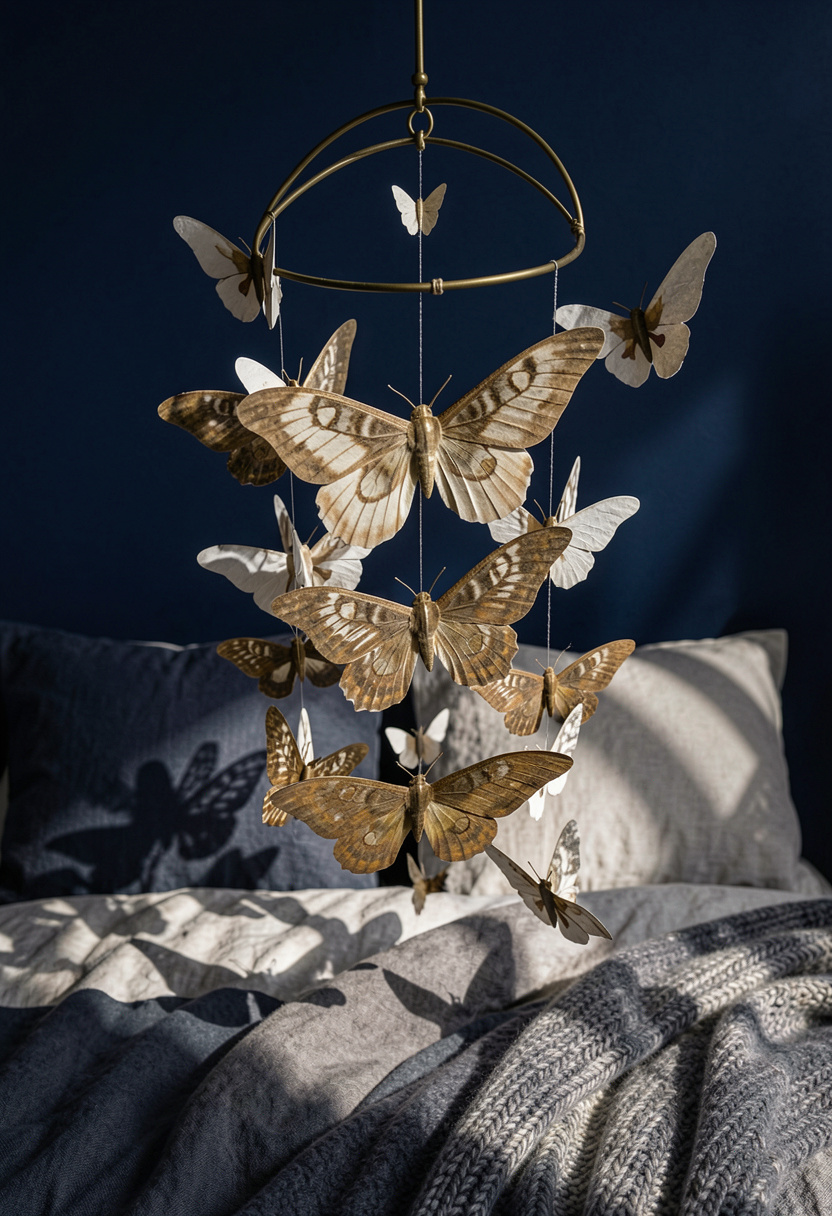

This mobile throws theatrical shadows at night. I cut moth shapes from heavy bone paper and hung them from a Brass hoop mobile kit (around $10 to $25). Practical tip: vary lengths for motion and use clear fishing line. Personal flub: I overfilled mine and it looked cluttered; keep it sparse.
Shop this idea:
8. Stenciled Floor Runner
Style: Rustic + Collected | Budget: Under $40 | Best For: Entry + Bedside
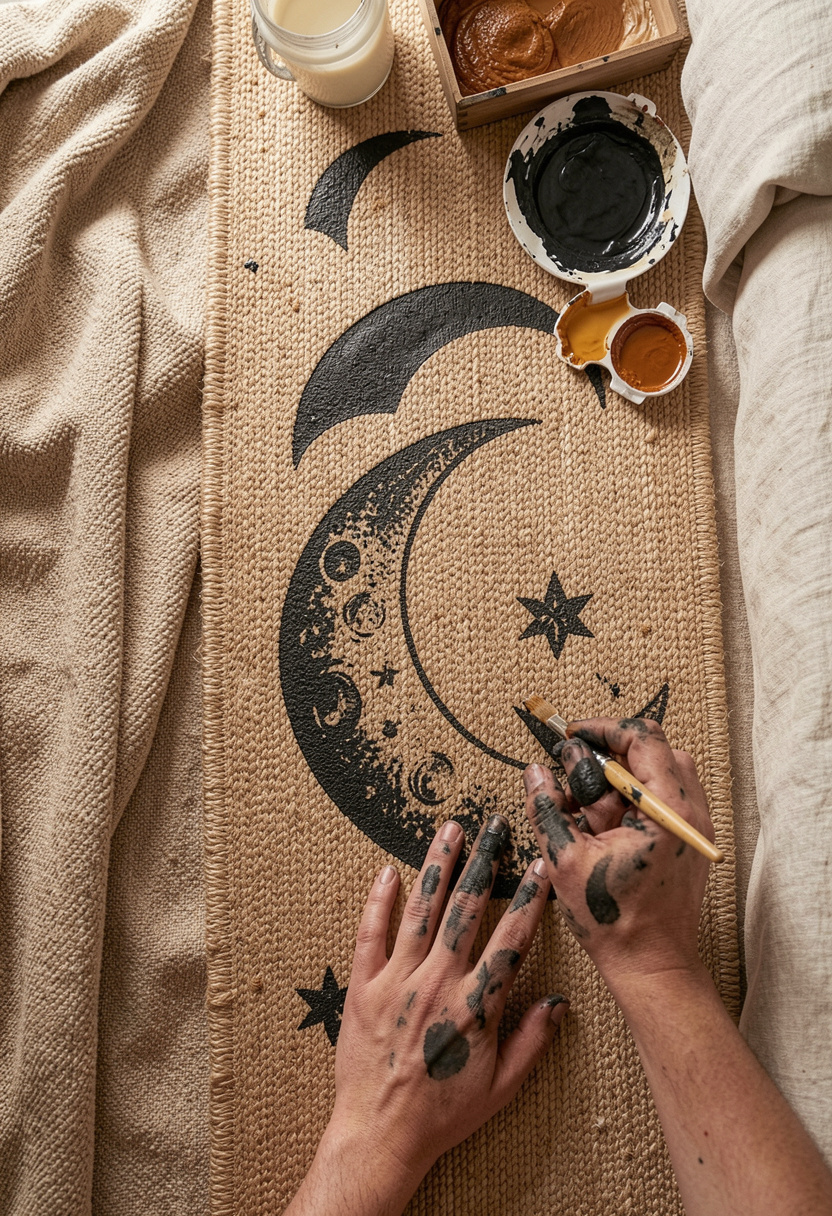

I stenciled moons and stars onto a Hand-woven jute runner 2×6 ft (approx $35 to $80) with black fabric paint. Tip: clamp the stencil and dab paint, don’t brush. Ugly truth: paint bleeding ruins the look; test pressure first. It soaked up a lot of foot traffic and still looks layered.
Shop this idea:
9. Apothecary Shelf with Shadowbox
Style: Vintage-Curated | Budget: Under $85 | Best For: Shelving


I made a shadowbox from an old frame and added a faux moth and yellowed papers. Use a Shadowbox display frame 11×14 (around $20 to $45) and small LED pucks. Placement tip: keep one shelf for rotation, so it never feels permanent. My guest said it looked museum-curated; I laughed because it cost under $30.
Shop this idea:
10. Card Catalog Tea-Light Holders
Style: Bold & Saturated | Budget: Under $20 | Best For: Windowsill + Mantel
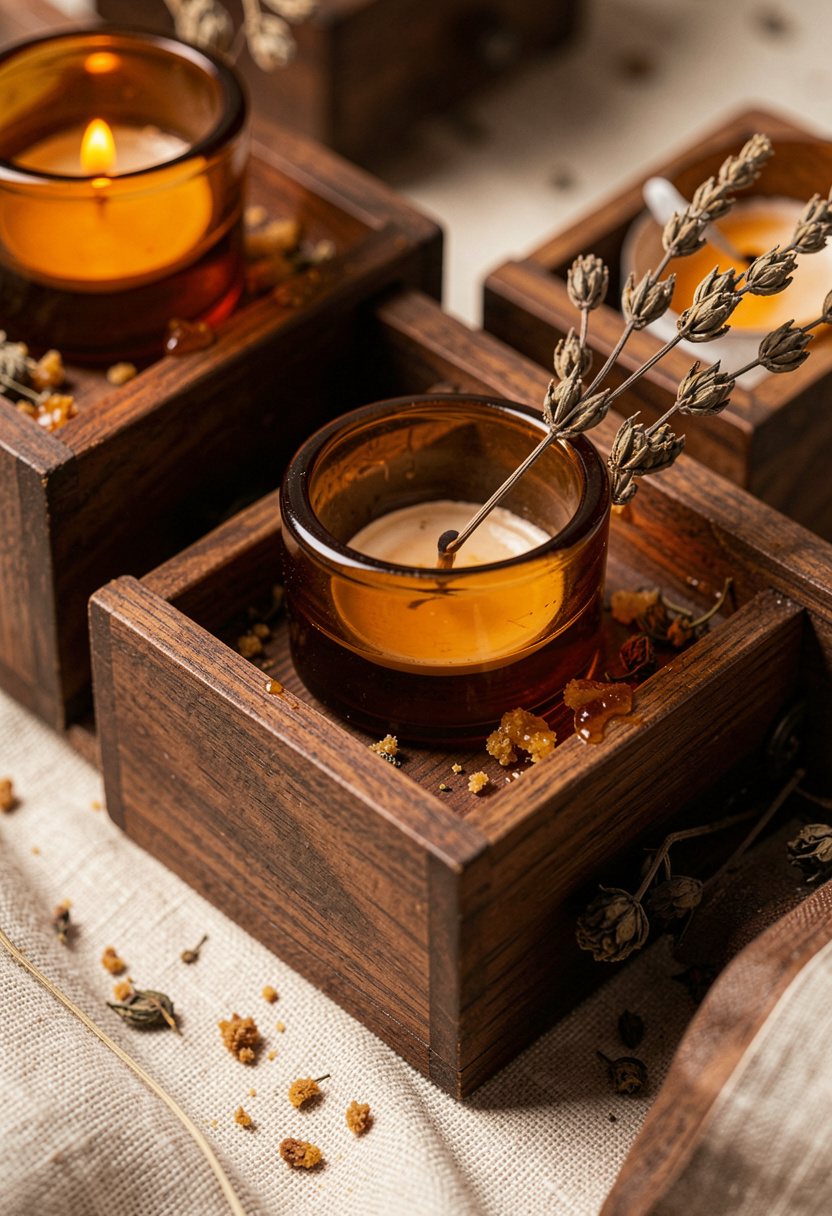

I salvaged a small wooden drawer unit and lined slots with Amber glass votives (approx $8 to $22) for a warm glow. Tip: use battery tealights to avoid wax cleanup. Ugly truth: real tealights melt and drip; battery versions look surprisingly realistic now.
Shop this idea:
11. Velvet Pumpkin Pillow Covers
Style: Rustic + Collected | Budget: Under $35 | Best For: Bed + Chair
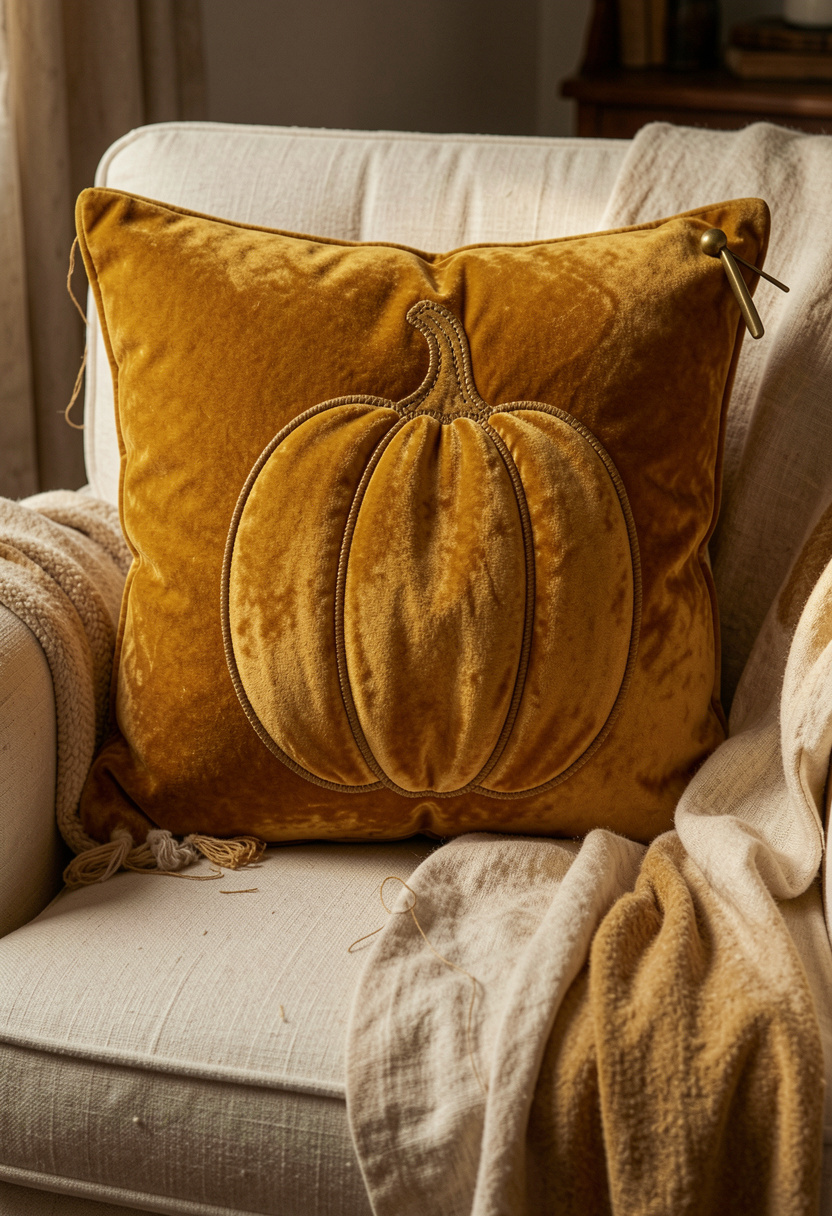

I sewed a simple pumpkin shape onto Mustard velvet pillow cover 18×18 (approx $12 to $28). Tip: use a removable cover so you can store after season. Personal moment: I spilled tea on one and still loved the texture, so velvet hides small stains nicely.
Shop this idea:
12. Mossy Frame Terrariums
Style: Bright & Airy | Budget: Under $50 | Best For: Small Shelves
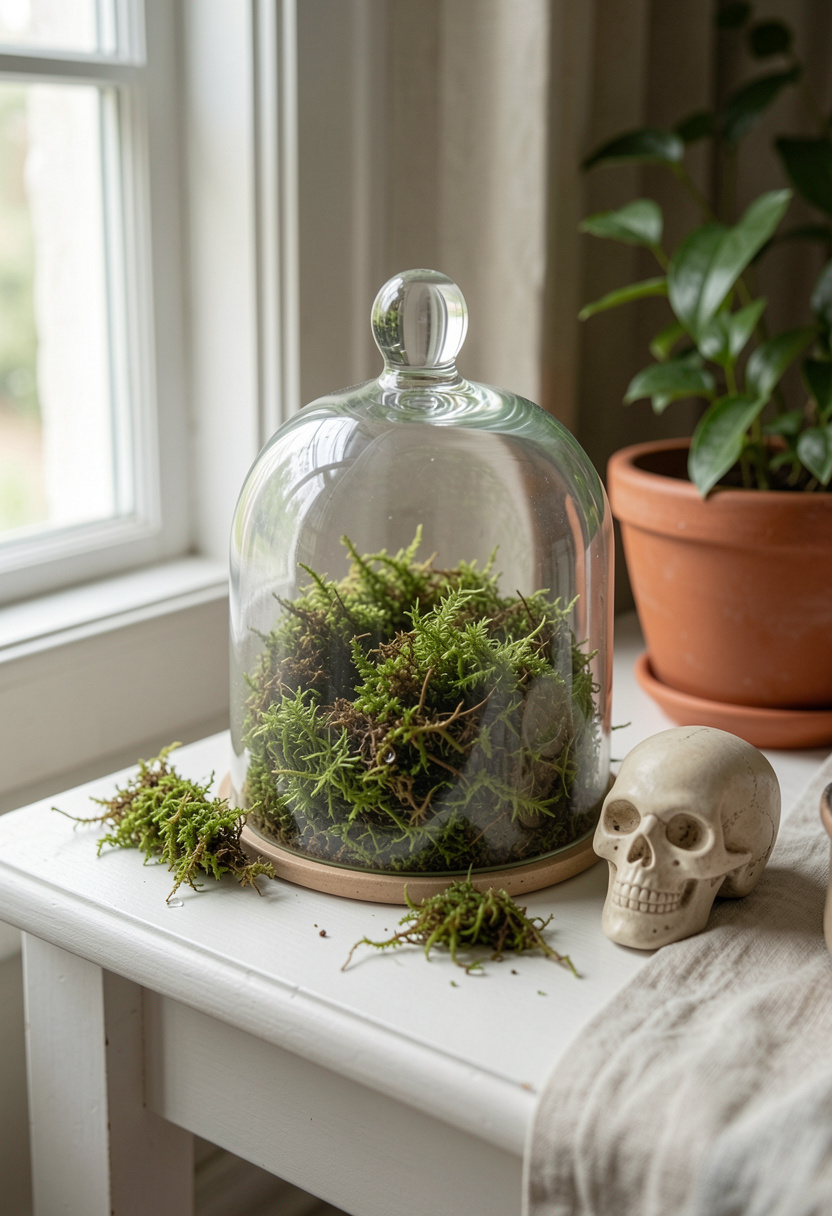

I filled a small cloche with preserved moss and a tiny ceramic skull. Use a Glass cloche 6 inch (approx $12 to $30) and avoid sealed live plants to prevent mold. Tip: preserved moss needs no watering. My mistake was trying live soil under glass; it grew mold within a week.
Shop this idea:
13. Tape-On Shadow Projector
Style: Bold & Saturated | Budget: Around $120 | Best For: Accent Wall
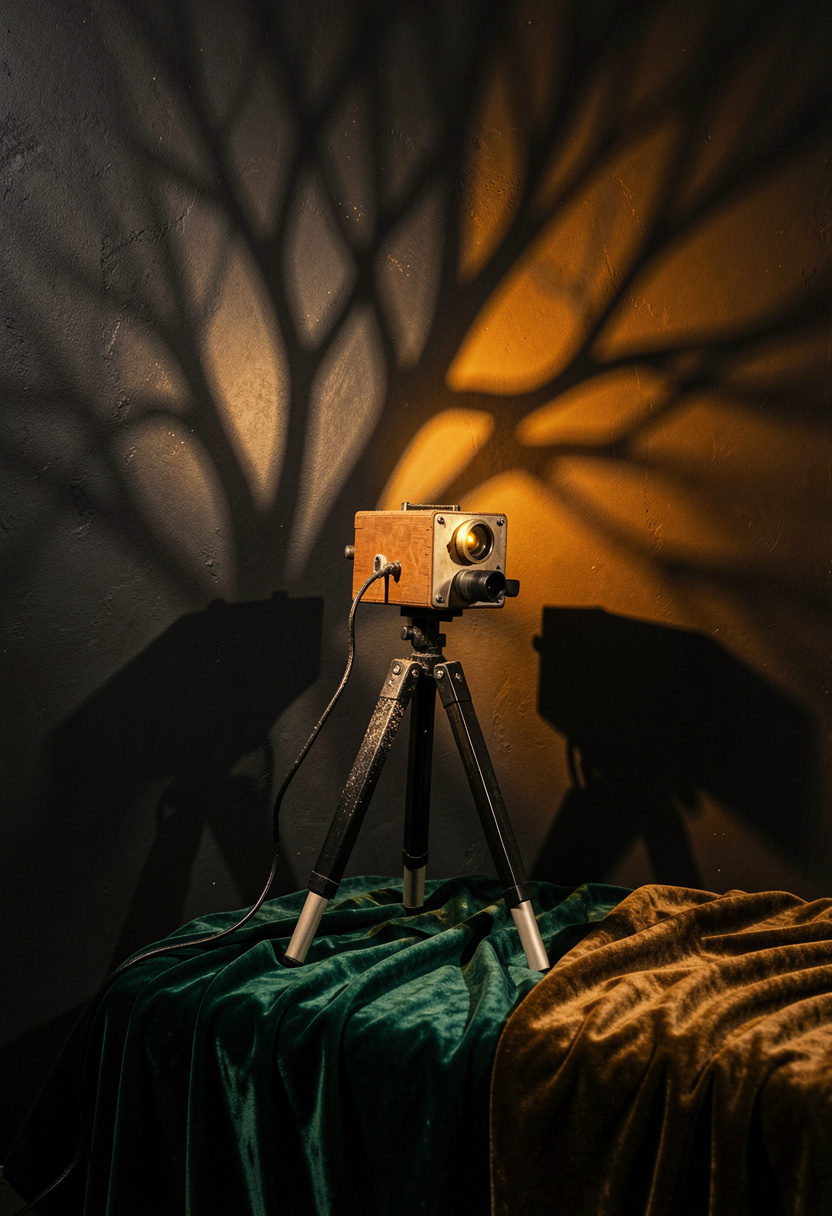

This is my favorite splurge. I repurposed a mini beam projector with a cut paper rotator and used Mini LED projector (approx $80 to $150) to cast moving branch shadows. Practical tip: mount the projector low and angle up for cinematic shadows. It’s the difference between “decor” and “installation.” Guests asked where I bought it; I said I made it.
Shop this idea:
What You'll Need to Get This Look
Wall Decor & Art
- Warm oak frame set 8×10 around $25 to $60
- Shadowbox display frame 11×14 around $20 to $45
- Botanical art prints set around $8 to $25
Rugs & Floor Decor
- Hand-woven jute runner 2×6 around $35 to $80
- Small area rug 4×6 wool blend around $60 to $150
Textiles & Soft Goods
- Mustard velvet pillow cover 18×18 around $12 to $28
- Cream linen curtains 84 inch around $25 to $50
Lighting & Ambiance
- Matte black drip LED candles around $18 to $35
- Battery string lights warm amber around $8 to $22
Budget Swaps
- Amber glass votives similar at Dollar Tree for less, around $8 to $22
- Apothecary glass jars set thrifted jars are great swaps, $6 to $20
Shopping Tips for These Looks
Buy in October Early: Stock drops and seasonal sellers add stock mid-September, so start looking in late September for best picks, see Battery string lights warm amber.
Mix Thrift with New: Hunt for frames and small furniture at HomeGoods or Goodwill, then buy hardware like Matte black hooks new for safety.
Lighting First: Designers I follow say layered lighting beats a single lamp, invest in dimmable bulbs like Warm dim bulbs (approx $10 to $25).
2025 Trend — Reusable Halloween Props: Look for items that can work year-round, such as amber glass and brass, pick pieces like Amber glass vase.
Thrift Hack: Spray-paint thrifted brass items matte black or aged brass for a moody finish, use Matte black spray paint (around $4 to $10).
Timing Tip: Buy preserved moss and dried florals off-season; prices dip after late November, check Preserved moss pack.
Frequently Asked Questions
Q: How do I get a spooky look without trashing my room?
A: Use temporary elements like battery candles, clip-on silhouettes, and removable hooks. Try Battery string lights warm amber for instant mood. Tip: store items in clear bins labeled by year.
Q: Are LED candles realistic?
A: Yes, modern LED drip candles mimic real flame and avoid soot and fire risk. I use Matte black drip LED candles and people often ask if they’re real.
Q: How can I make Halloween decor feel mature?
A: Stick to a restrained palette and textured materials like velvet, brass, and terracotta. A few curated pieces, like Warm oak frame set 8×10, go farther than dozens of plastic props.
Q: What’s a low-effort, high-impact swap?
A: Replace white bulbs with warm dim bulbs and add amber votives. I swapped bulbs first; the room looked instantly cozier. Try Warm dim bulbs.
Conclusion
Start small with lighting and one focal vignette, then layer the rest over weekends. My tip: pick two core materials — brass and velvet — so your Halloween touches read intentional. Want help picking which two projects suit your room? Tell me your room size and vibe and I’ll recommend the first three DIYs to try.