How to DIY Vintage Wall Decor That Looks Like a Flea Market Find
My wall looked like a rented apartment—flat frames, matching prints, zero personality. I wanted a flea market feel without the hunt. I spent about $85 on thrifted frames, $40 on faux botanicals, and two evenings distressing and composing a wall that now reads collected, not staged.
This guide is for relaxed vintage style—think cottage-meets-boho. Budget is under $300 if you already have a sofa or bed. It works best in living rooms, entryways, or above a bed. Trends tilt toward tactile, weathered surfaces and soft neutrals right now.
What You'll Need for This Look
Foundation pieces:
- 8×10 jute area rug in natural (~$120-180)
- Linen curtains in white, 96-inch length (~$35-50 per panel; need 2-4)
Wall decor & vintage tools:
- Ornate picture frame set, mixed sizes (~$25-60 for sets)
- Rustic wood shutter wall decor, pair (~$40-70)
- Salvaged window frame mirror look, 24×36 inch (~$50-90)
- Vintage botanical prints set of 3, 11×14 (~$15-30)
Textiles & finishing:
- Chunky cable knit throw in oatmeal, 50×60 (~$40-60)
- Euro pillow inserts, 26×26, set of 2 (~$25-40)
- Worn brass picture hanging kit, heavy duty (~$10-15)
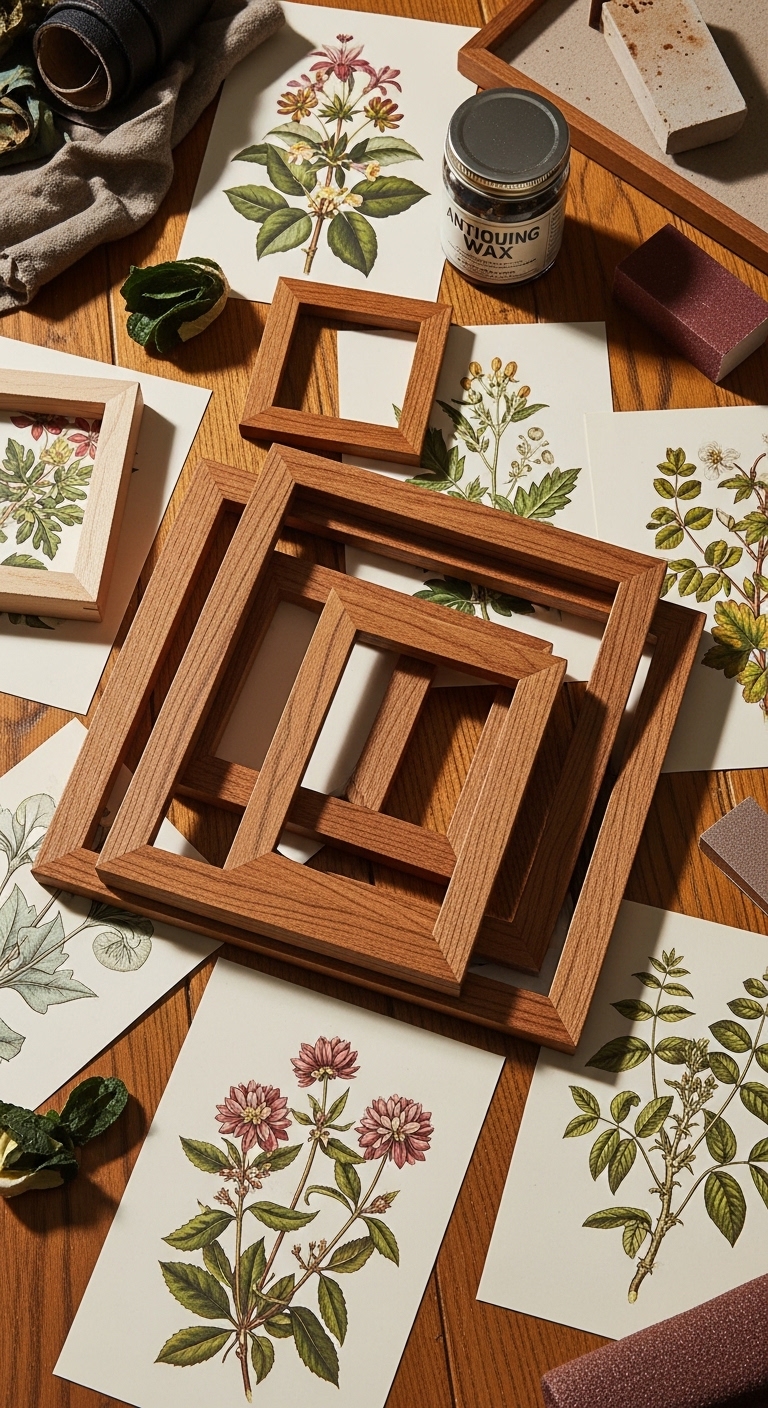
Tools for aging and texture:
- Antiquing wax, dark brown (~$8-15)
- Distressing sponge and sanding block set (~$6-12)
Budget-friendly swap:
- Linen-blend curtains, white, 96-inch (under $25 per panel)
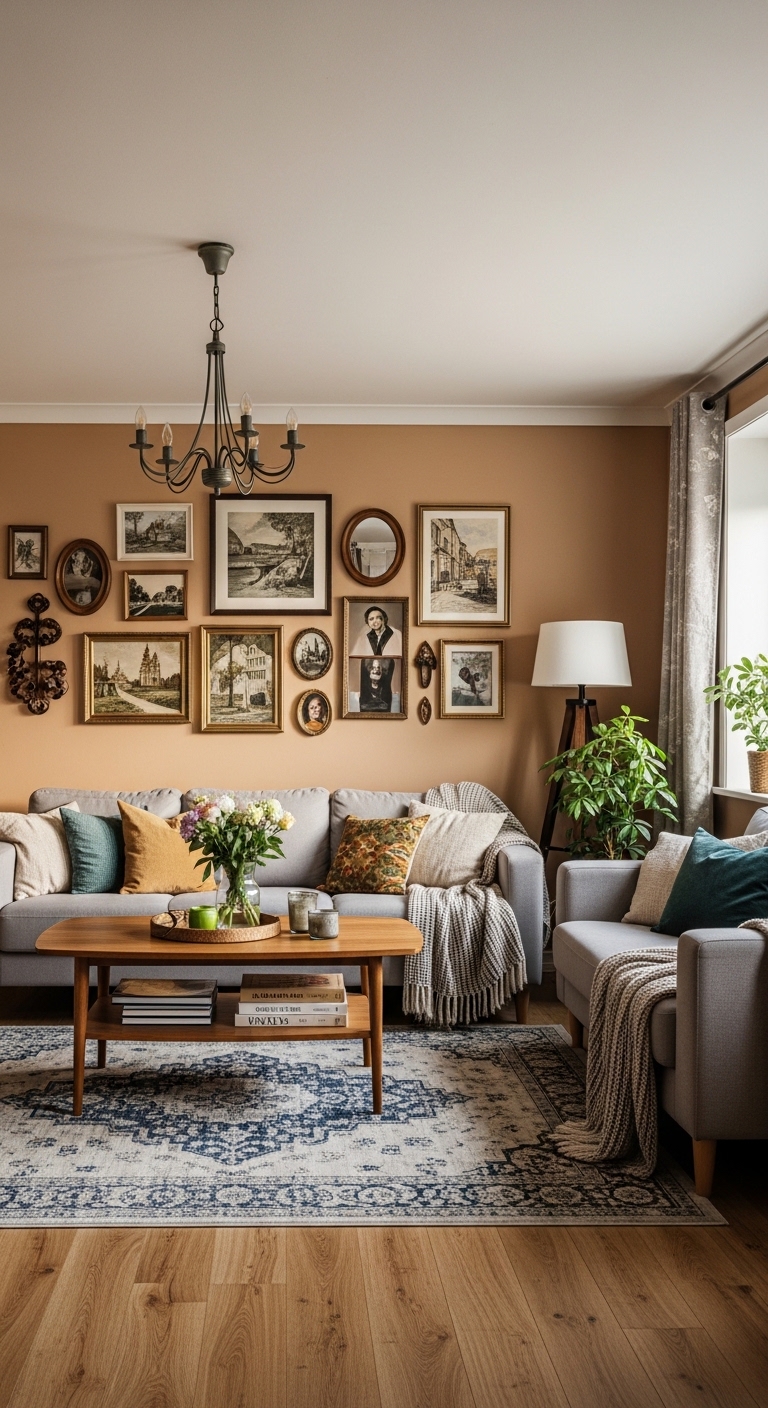
Build a gathered gallery wall that reads collected, not forced
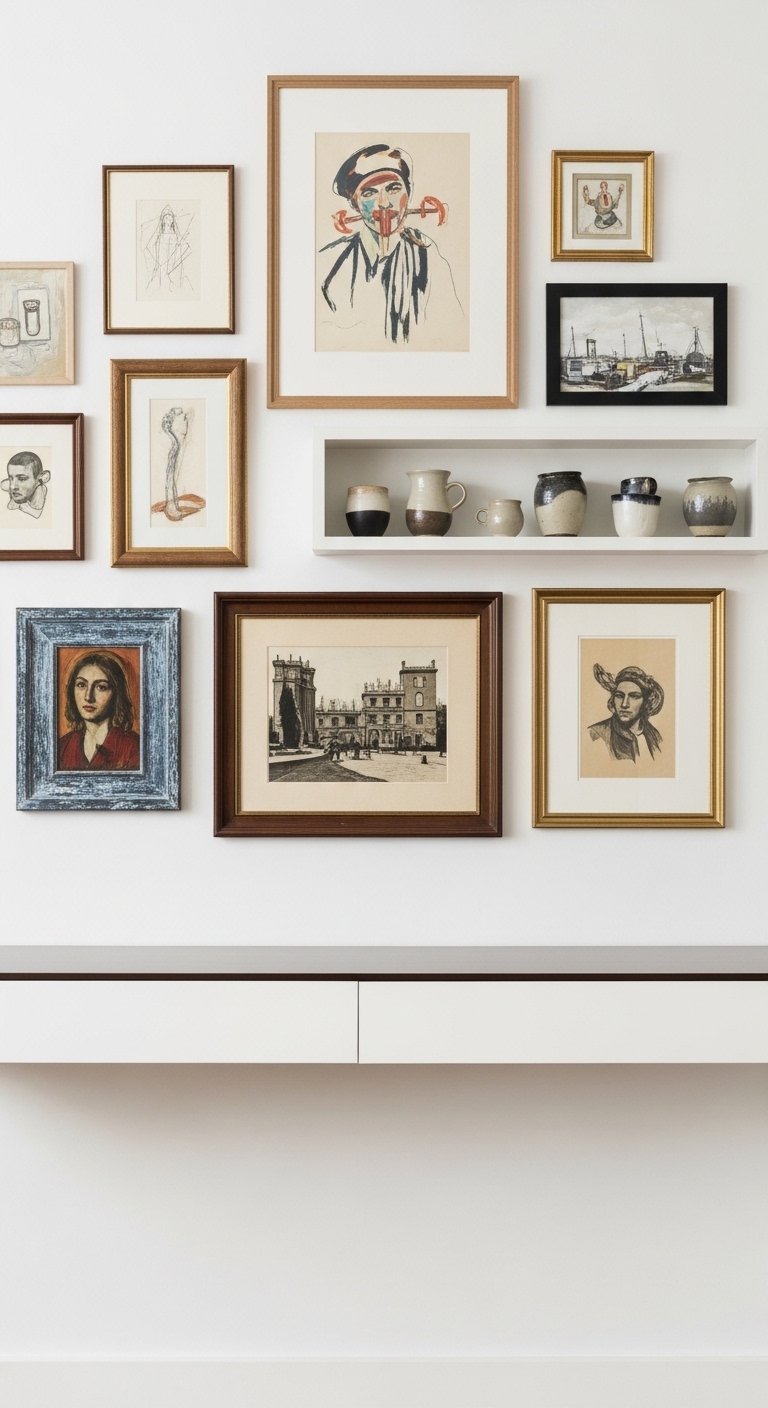
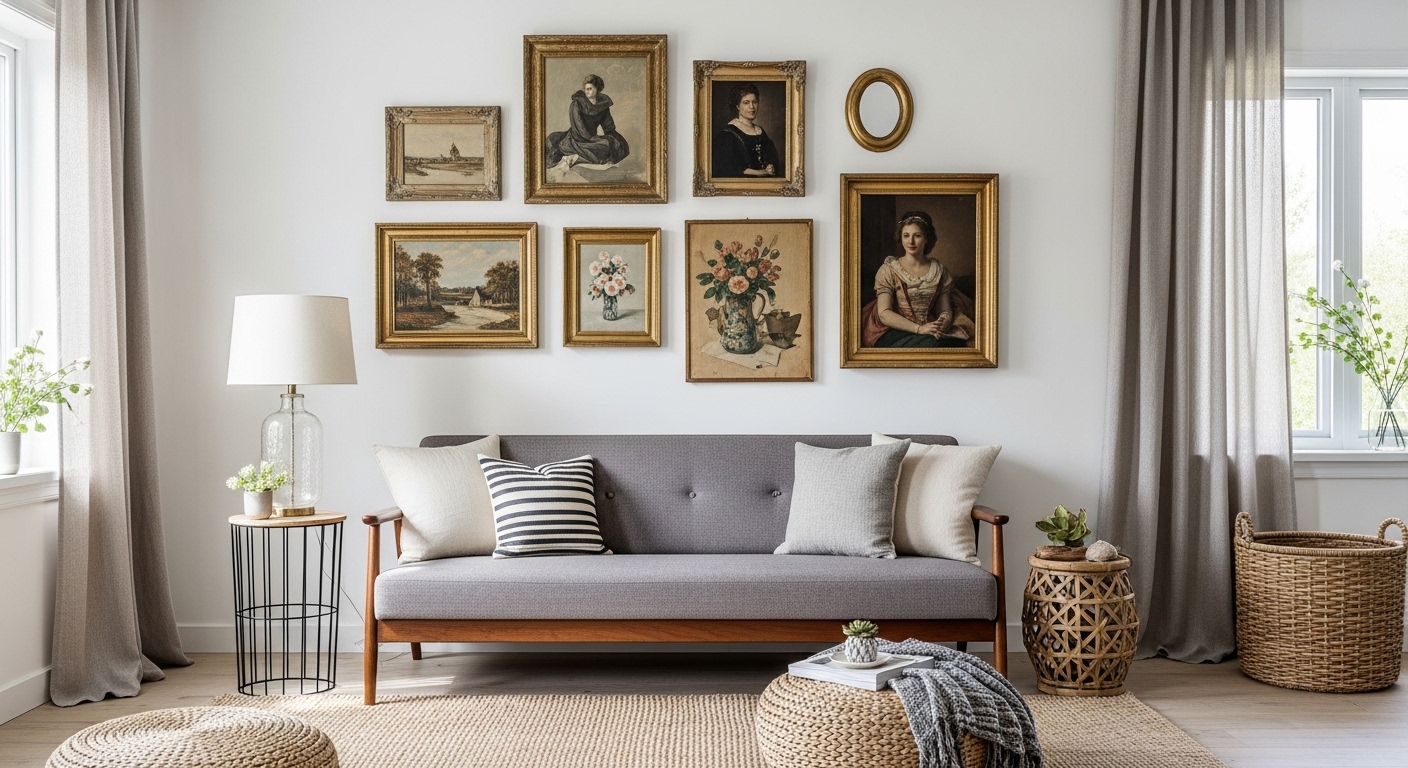
Start by editing. I hunted local thrift stores and bought frames with solid bones. I filled gaps with vintage botanical prints or repros in off-white paper. Lay frames on the floor first. I aim for one large anchor piece (about 24–36 inches) and surround it with smaller frames in odd numbers.
Proportion matters. Small frames clustered next to a large mirror look intentional. I added rustic wood shutters on one side to break the flatness. Keep 2–3 inches between edges for breathing room. Use the worn brass hanging kit so pieces sit flush.
Common mistake: trying to match frames. That reads store-bought. Do this instead: mix finishes—gilded, painted white, raw wood—and age some pieces with antiquing wax to tie them together.
Make DIY weathered frames and faux patina pieces
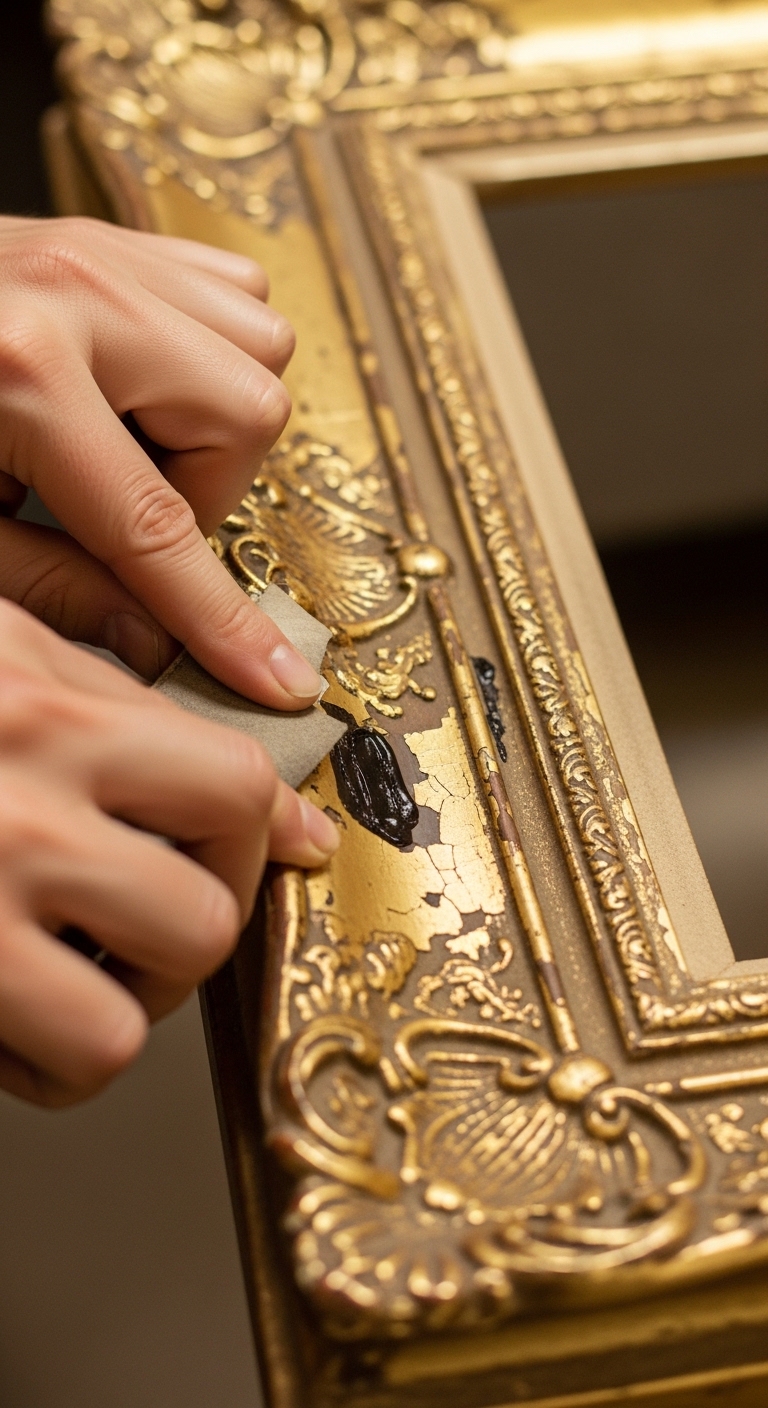
If you can’t find true vintage, fake it. I painted cheap frames a warm cream, scuffed edges with a sanding block, then rubbed antiquing wax into crevices. The result reads old at a glance.
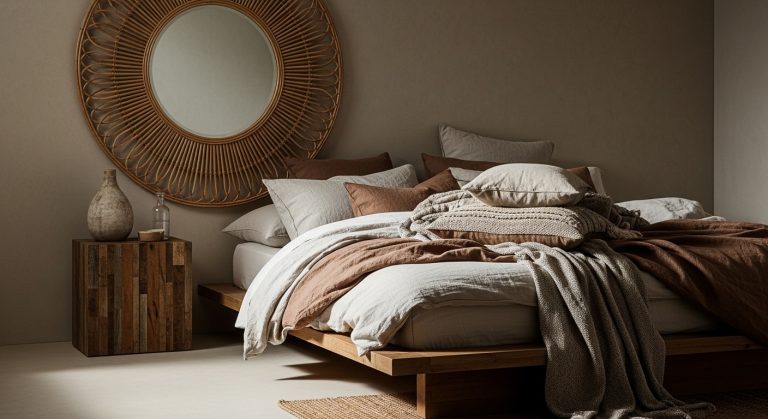
For mirror or window-style pieces, I used a salvaged window frame mirror look and lightly sanded corners. Add a small touch of gold leaf or worn brass knob for character. Work in layers: paint, sand, glaze. Let each layer dry.
A mistake I made: overdoing uniform distressing. My first batch looked staged. I corrected it by varying the distress level—one frame heavily worn, one just scuffed—so the wall feels collected over time.
Add depth with three-dimensional vintage accents and plants
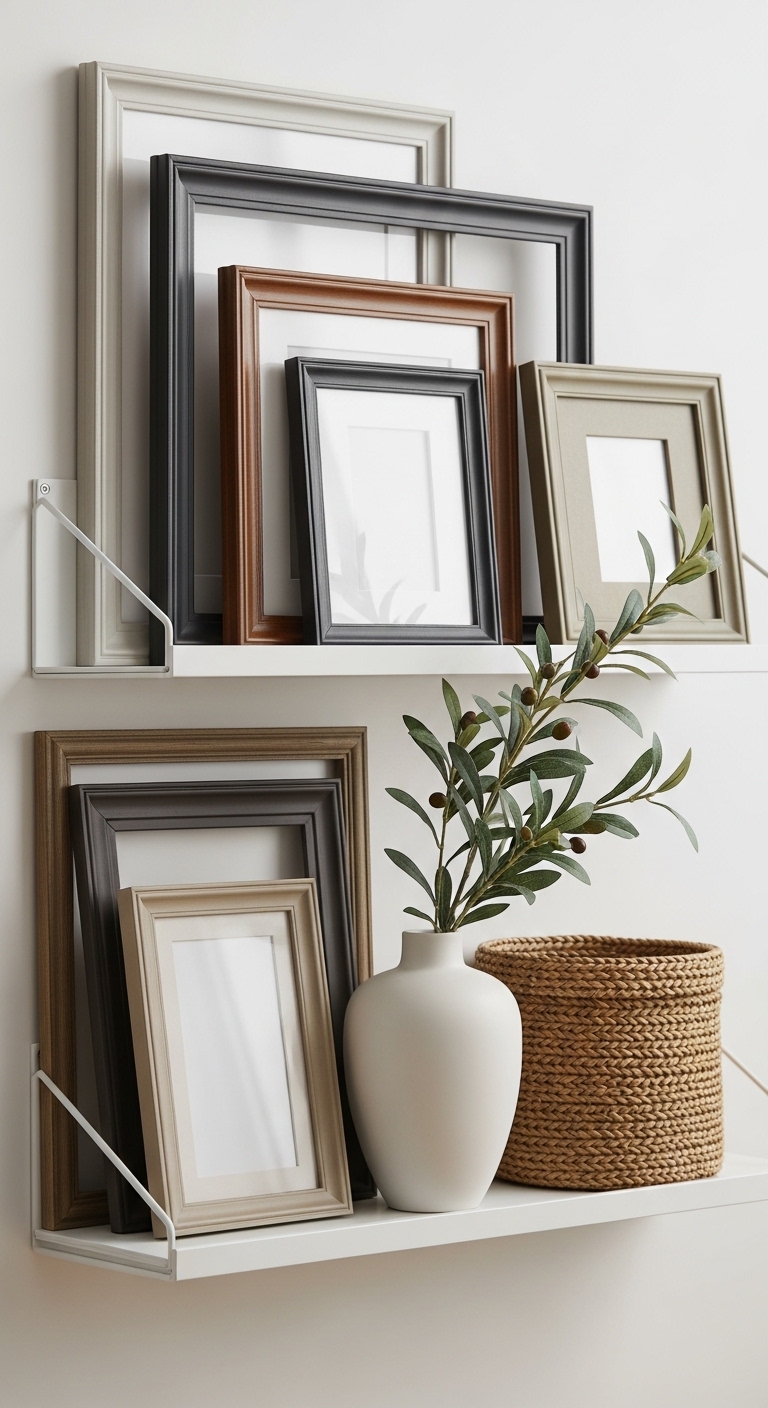
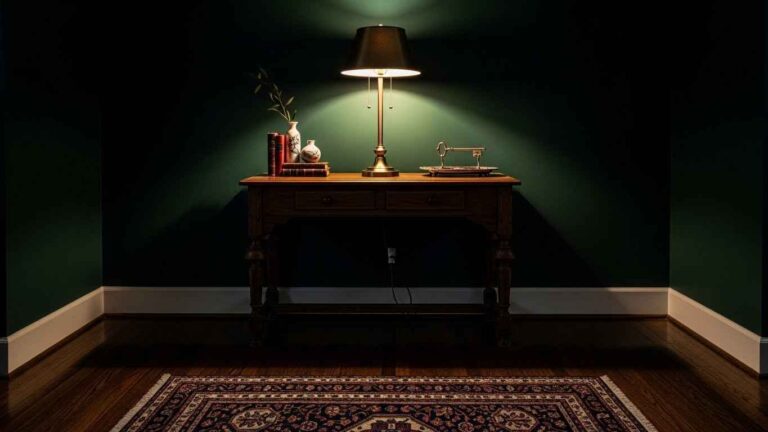
Flat art needs depth. I mixed in a small woven basket set and a faux olive tree in a cement pot, 4-5 ft to anchor corners. A ledge shelf with a leaning frame creates shadow and interest.
Scale tip: keep one tall element (4–5 ft plant or floor lamp), one medium (mirror or shutter), and several small pieces. Varying heights in odd numbers keeps the eye moving. I used ornate picture frames mixed set on a shelf to overlap prints and ceramics.
Avoid symmetrical placement of three identical items. It reads like retail. Instead, stagger and layer.
Common Styling Mistakes to Avoid
Mistake: All frames the same height
Why it doesn't work: The wall looks flat and mechanical.
Do this instead: Mix tall and short pieces in groups of three or five. Use ornate mixed-size frames.
Mistake: Hanging art too low
Why it doesn't work: It disconnects from furniture and feels awkward.
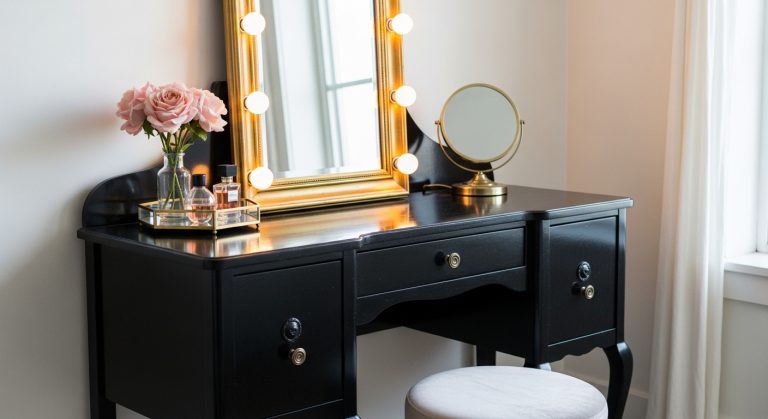
Do this instead: Aim for center of main piece at 57–60 inches from the floor. Use a salvaged window frame mirror as an anchor above consoles.
Mistake: Everything brand-new and matching
Why it doesn't work: It reads like a set, not collected.
Do this instead: Age one or two pieces with antiquing wax and add a woven basket or faux plant.
Shopping Guide: Where to Find These Items
- For cheap frames and thriftable base pieces: check Amazon sets like ornate picture frame sets and then age them yourself.
- For ready-made weathered pieces: look for rustic wood shutters and salvaged window mirrors.
- For filler art: inexpensive vintage botanical print sets match the aesthetic and cost less than originals.
- For longevity: splurge on one real-texture piece like a hand-woven jute rug 8×10; it grounds the whole room.
Start with one wall. Add a frame or shelf every few weeks. I started by replacing one art grouping. Each small change made the room feel older and more personal. Which wall will you tackle first?