How to Organize a Game Room So It Stays Clean and Functional
My first game room looked like a charging station exploded: controllers on the floor, cords across the rug, and a pile of mismatched cases on a tiny TV stand. I spent about $350 reorganizing it into zones that stay tidy: an 8×10 rug to anchor seating, ceiling-mounted blackout curtains for glare control, and wall storage with baskets for quick cleanup. The result feels intentional and stays functional during weekend marathons.
This guide is for a modern, slightly retro-leaning game room. Budget: $250–$600 depending on how much you already own. Works best in basements, spare rooms, or converted corners. Trend to note: RGB ambient lighting plus vertical storage keeps small game rooms immersive and clutter-free.
What You'll Need for This Look
Foundation pieces:
- 8×10 jute area rug in natural (~$120–180) — anchors the seating zone
- Blackout curtains in charcoal, 96-inch (~$30–60 per panel; 2 panels)
Storage & display:
- White oak floating shelves (24-inch) (~$40–80 each; I used two)
- Wall-mounted game storage rack for consoles/games (~$30–70)
- Woven storage baskets, set of 3 (~$35–55) — hides cables, controllers, small accessories
Tech & lighting:
- RGB LED strip lights (16.4 ft) with remote (~$25–45)
- Neon gaming sign, small (~$40–90)
Accessories & cable care:
- Controller charging station for 4 controllers (~$25–50)
- Cable management sleeve, 6 ft (~$10–20)
- 48-inch media console with drawers (~$120–300) — for hidden storage and AV equipment
Budget swap: If you want cheaper curtains, try linen-look blend curtains to save about half.
Start with the foundation: rug and seating area
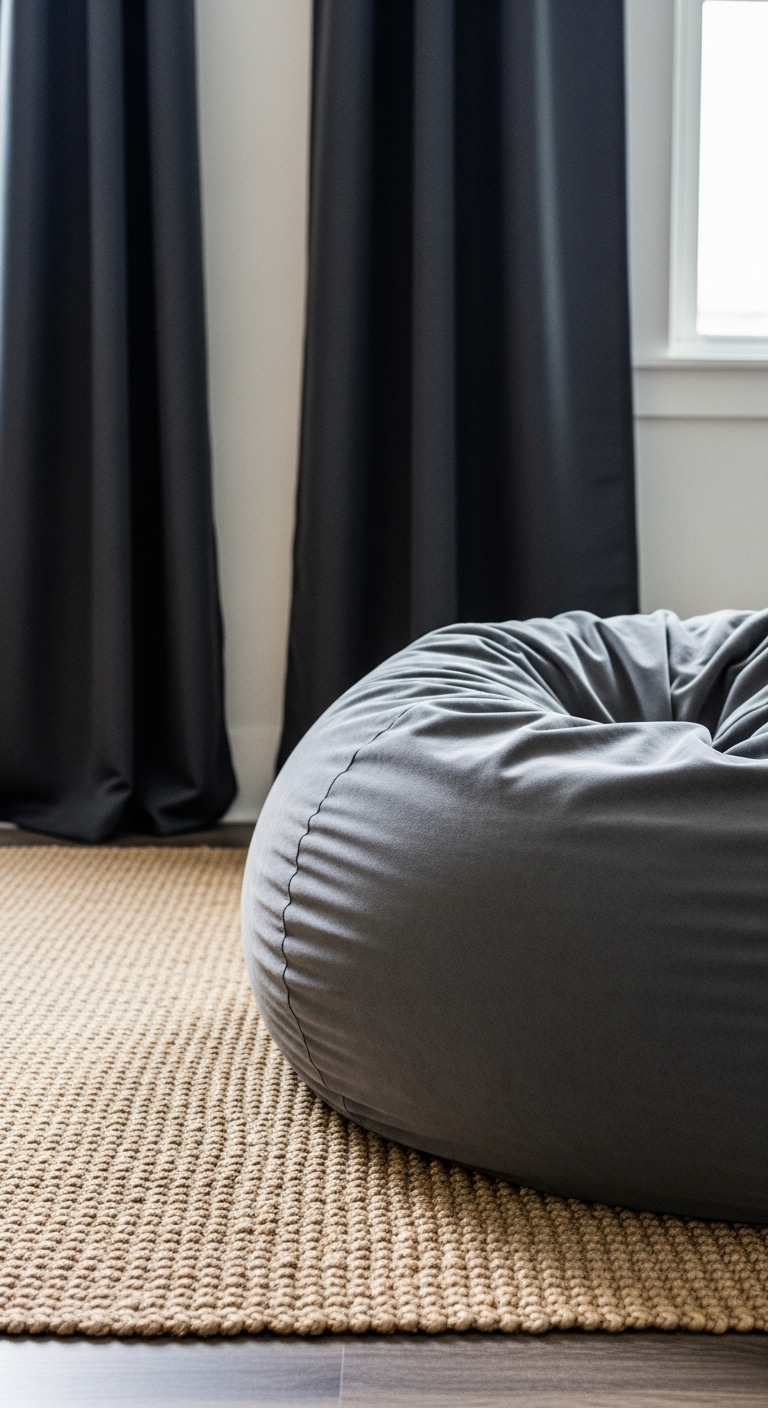
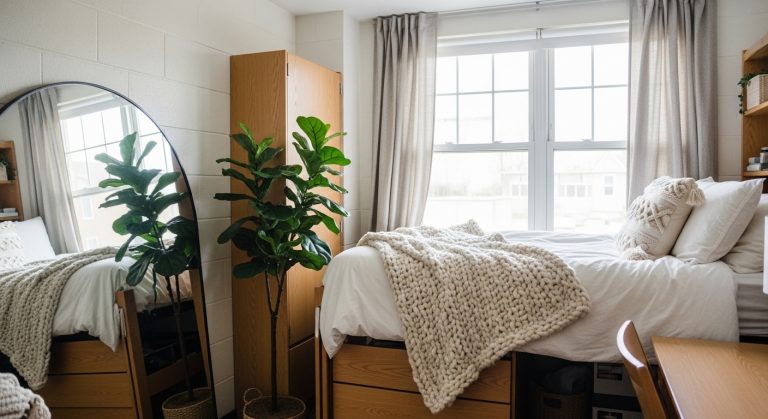
The rug and seating define where play happens, so they go first. I used the 8×10 jute rug because its natural tone hides scuffs and reads warm against consoles. Place the rug so the front legs of your sofa or chairs sit on it — that visual unity keeps the room from feeling chopped. For seating, a large memory-foam bean bag or a small modular sofa works; keep the main seat about 8–10 feet from the screen for a 55–65" TV.
Blackout curtains in charcoal 96-inch panels reduce glare and make the display colors pop. Mount the rod 2–4 inches below the ceiling to make the room feel taller. The common mistake is a too-small rug; if your furniture floats off it, the layout feels accidental.
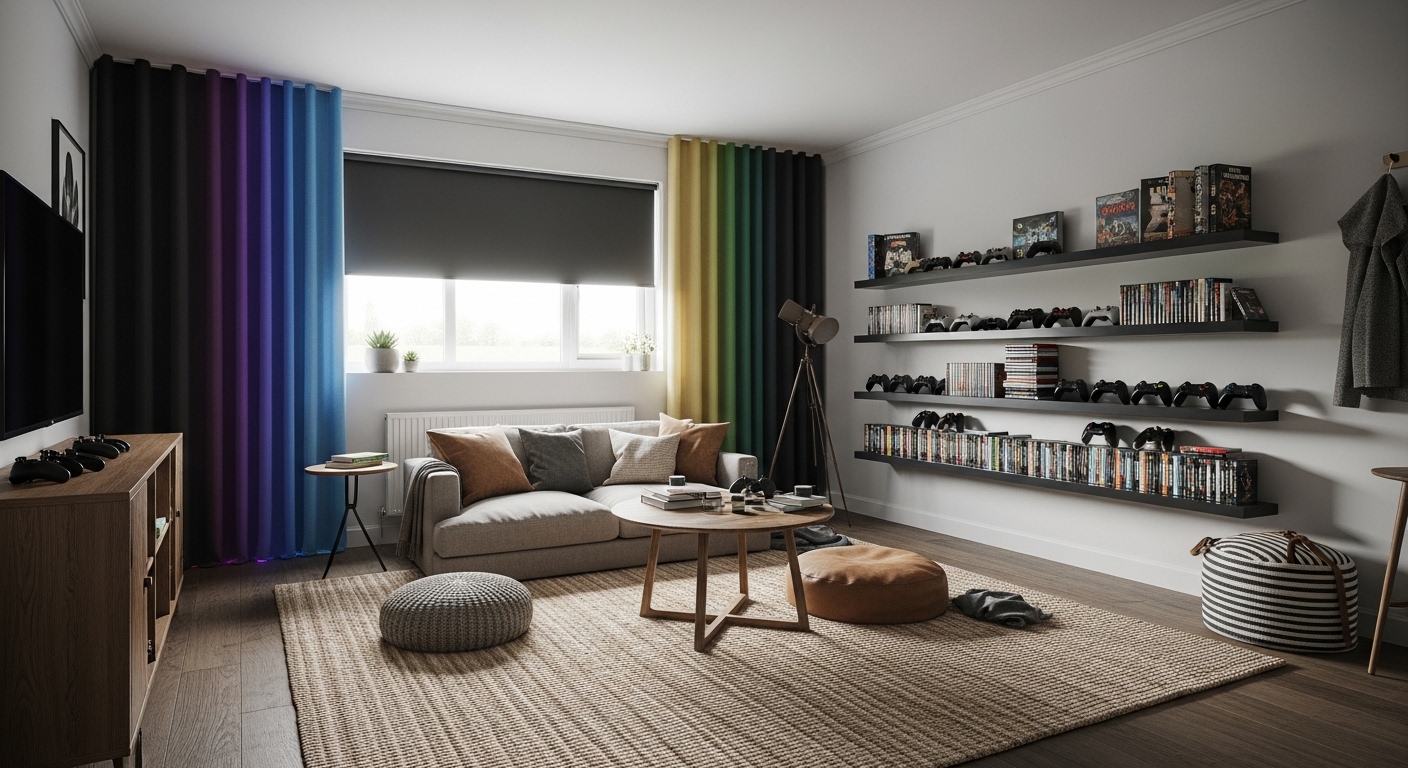
Free up floor space with wall storage and floating shelves
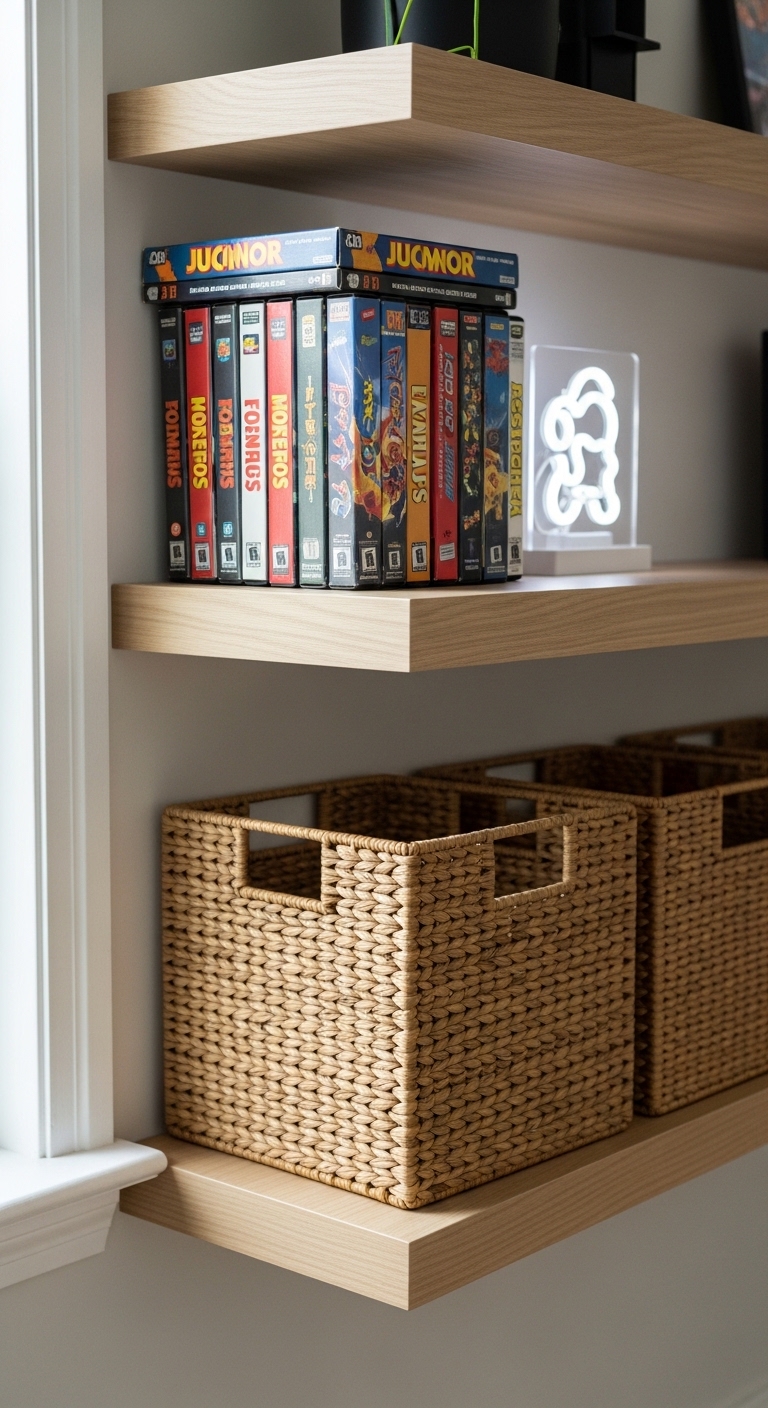
Vertical storage was the game-changer. I installed two white oak floating shelves (24-inch) to display collectibles and used a wall-mounted game storage rack for cartridges and controllers. Keep heavy AV boxes on the lower shelf or a media console. Use odd-number groupings on shelves — three items look better than two — and tuck smaller gear into woven baskets to stop visual clutter.
Note what didn’t work for me: I first used only open shelving and it quickly collected dust and loose cables. I added baskets and a 48-inch media console with drawers to hide the mess and it made weekly cleanups five minutes instead of thirty.
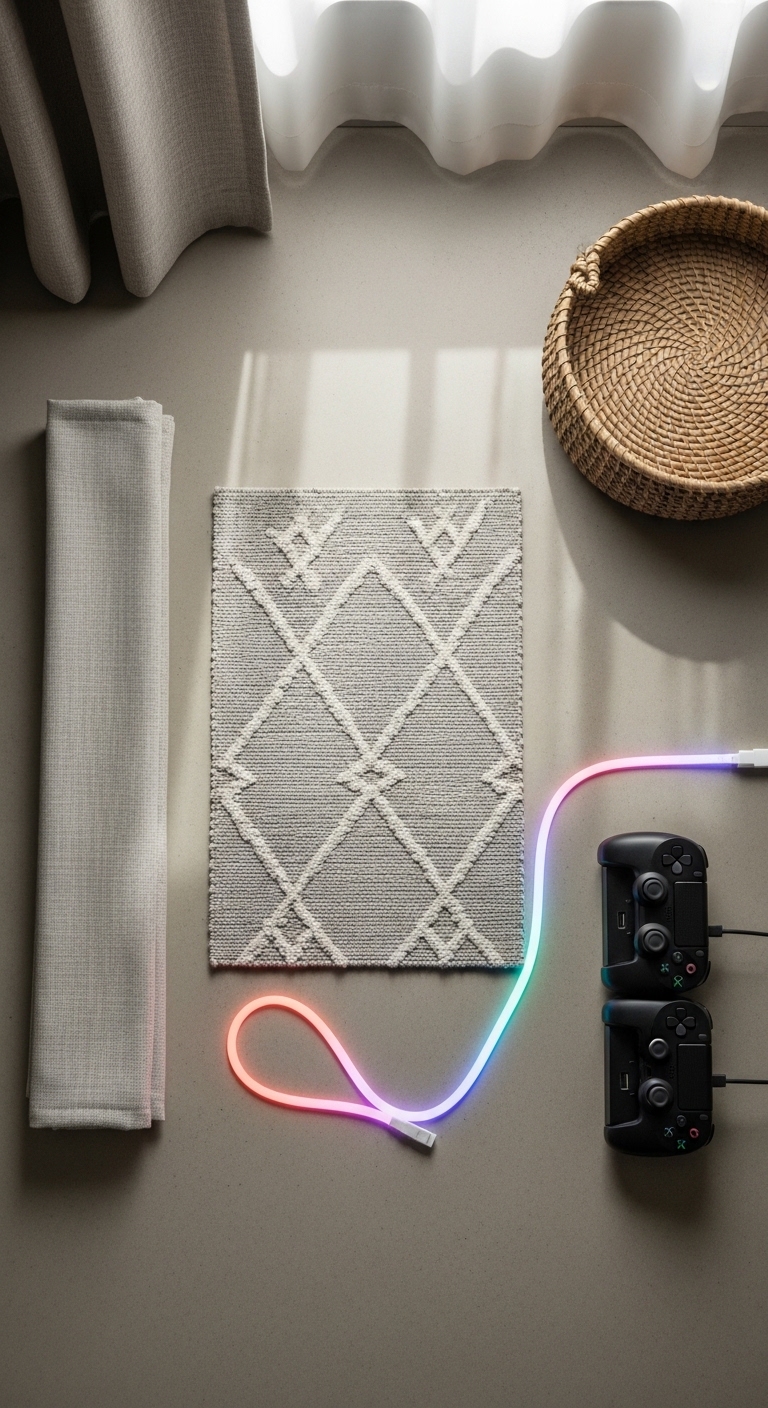
Create easy-access zones for games, controllers, and cables
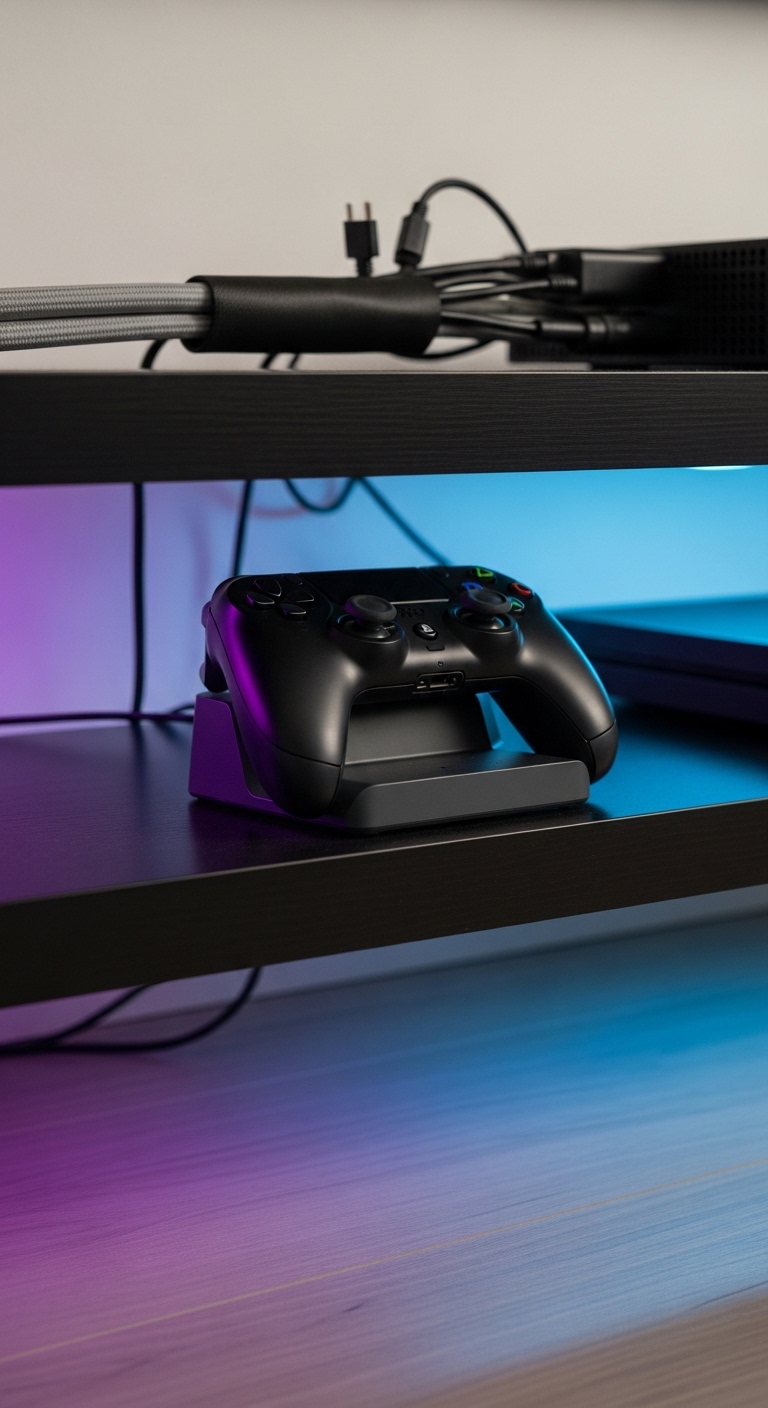
Designate a controller zone within arm’s reach of your main seat. I use a controller charging station for 4 controllers placed on a side shelf about 24–30 inches high. Route all power cords through a cable management sleeve, 6 ft and anchor them behind the media console so they’re out of sight but accessible.
For mood and minimal distraction, hide RGB LED strip lights under shelves and behind the TV. I tried a bright neon sign in my first layout and it was too harsh for long sessions; swapping to subtle RGB behind the display gave the arcade feel without eye strain.
Common Styling Mistakes to Avoid
Mistake: Using a rug that’s too small
Why it doesn't work: The seating island looks disconnected.
Do this instead: Get at least an 8×10 rug so front legs sit on the rug.
Mistake: Hanging curtains at the window frame
Why it doesn't work: Ceilings read lower and the room feels cramped.
Do this instead: Mount higher with adjustable curtain rods and use long panels.
Mistake: Open shelving without baskets for small gear
Why it doesn't work: Shelves become a dust-and-cord graveyard.
Do this instead: Add a 48-inch media console with drawers or woven baskets to hide loose items.
Shopping Guide: Where to Find These Items
- Budget curtains and textiles: Amazon’s linen-look and blackout options — search linen blend curtains to save money.
- Splurge on the rug: A durable jute or hand-woven rug lasts years; see hand-woven jute rugs.
- Shelving and consoles: IKEA has affordable solids; for a cleaner look, try white oak floating shelves on Amazon white oak floating shelves.
- Faux plants: If light is poor, an artificial fiddle leaf or olive tree looks healthy year-round — realistic artificial fiddle leaf.
Start with one change—pick the rug or wall storage—and build from there. I added the controller charging station last and it made the room feel finished. What zone will you fix first in your game room?